Penis photography guide
Whether you are taking these photos yourself or having a partner help, this guide will walk you through the process. Our goal is to create a respectful, non-erotic educational reference, so we ask that you follow these steps to keep the gallery visually consistent.
Please read through this quick guide before uploading.
The Quickstart Summary
- Decompress: Wait 10-15 minutes after removing tight clothing.
- Find the light: Stand facing a window with soft, diffuse light. The camera should be between you and the window.
- Set your camera: Zoom in slightly (about 2× zoom) and hold the phone about 15 inches (38 cm) away.
- Upload: Submit your unedited originals at /contribute.
1. Preparing Your Space & Lighting
The Environment: Find a private room with a neutral, uncluttered background. If you have a partner who can stand behind the camera, it makes framing much easier.
Let things settle: After taking off tight underwear or clothing, please wait 10 to 15 minutes before taking your photos. This allows your anatomy to naturally decompress so we get an honest resting baseline.
Find soft light: The best lighting is soft, natural window light (like on an overcast day). Stand facing the window, with the diffuse light coming from behind or slightly above the camera. Please avoid harsh camera flashes, strong side lighting, or backlighting, as these cast heavy shadows and hide natural texture.
2. Camera Settings & Framing
Smartphone cameras often use wide-angle lenses that can distort proportions up close. To get an honest representation:
- Zoom in: Use about a 2× zoom (roughly a 50 mm equivalent lens).
- Distance and Angle: Hold the camera about 15 inches (38 cm) away from your body. Aim the camera slightly upward (about a 10° tilt) toward the pubic area, and try to keep the lens centered perfectly on your midline.
- File Quality: We need a minimum resolution of 6 megapixels. Please submit the raw, original files-do not add filters or crop the images yourself.
Example photos
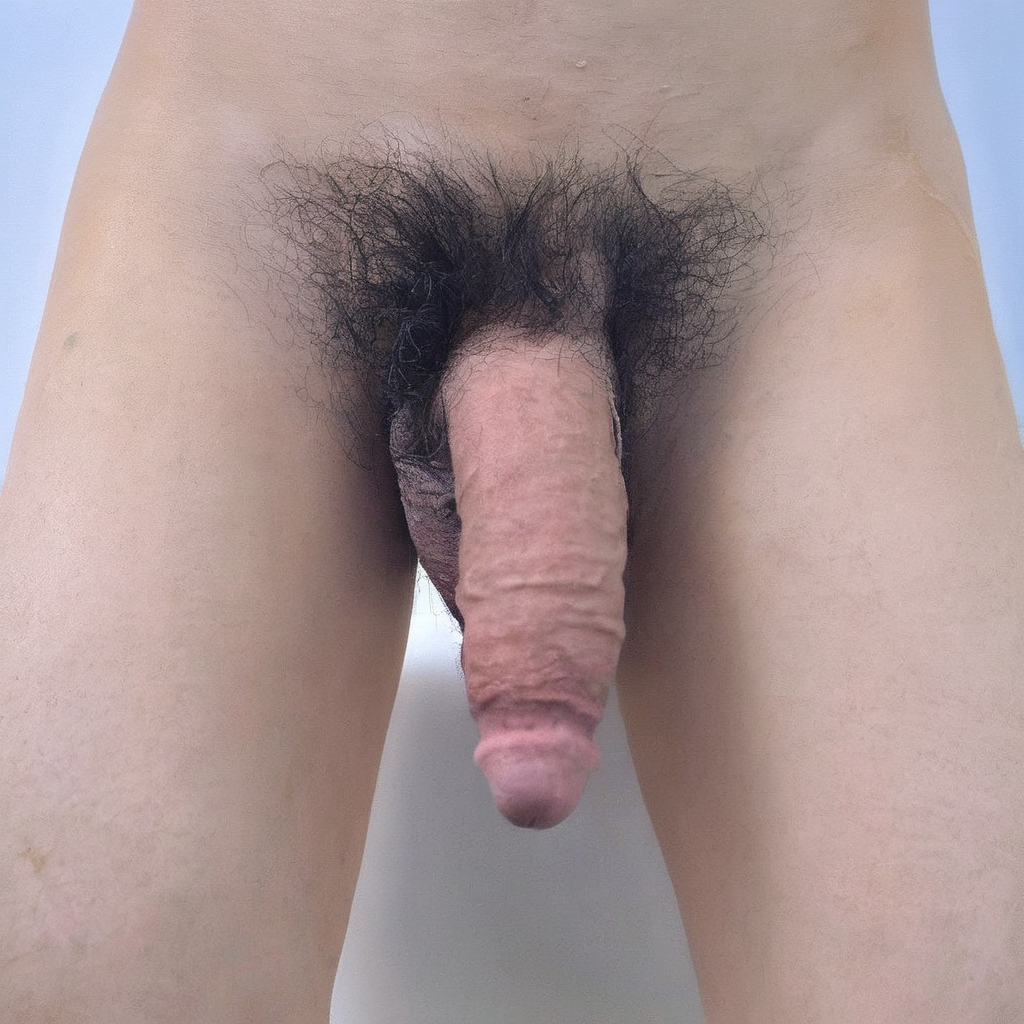
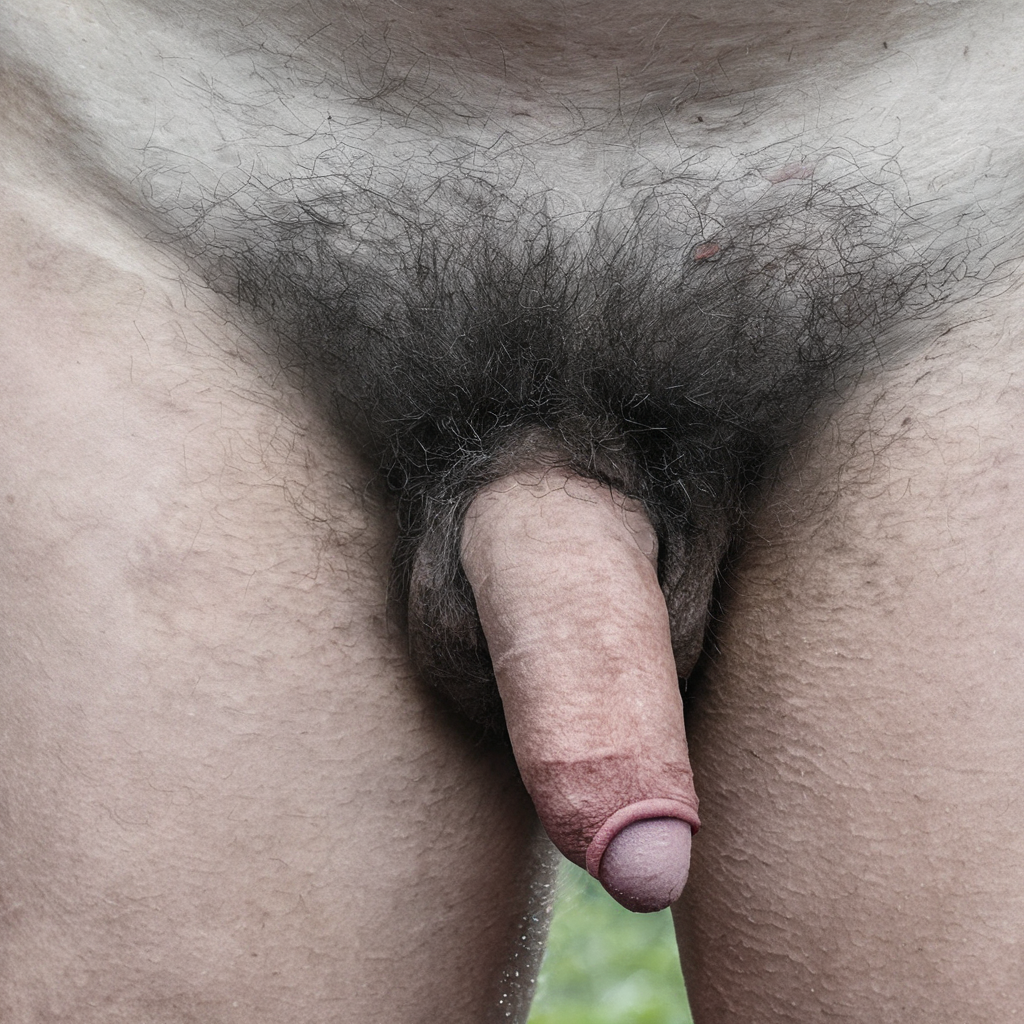
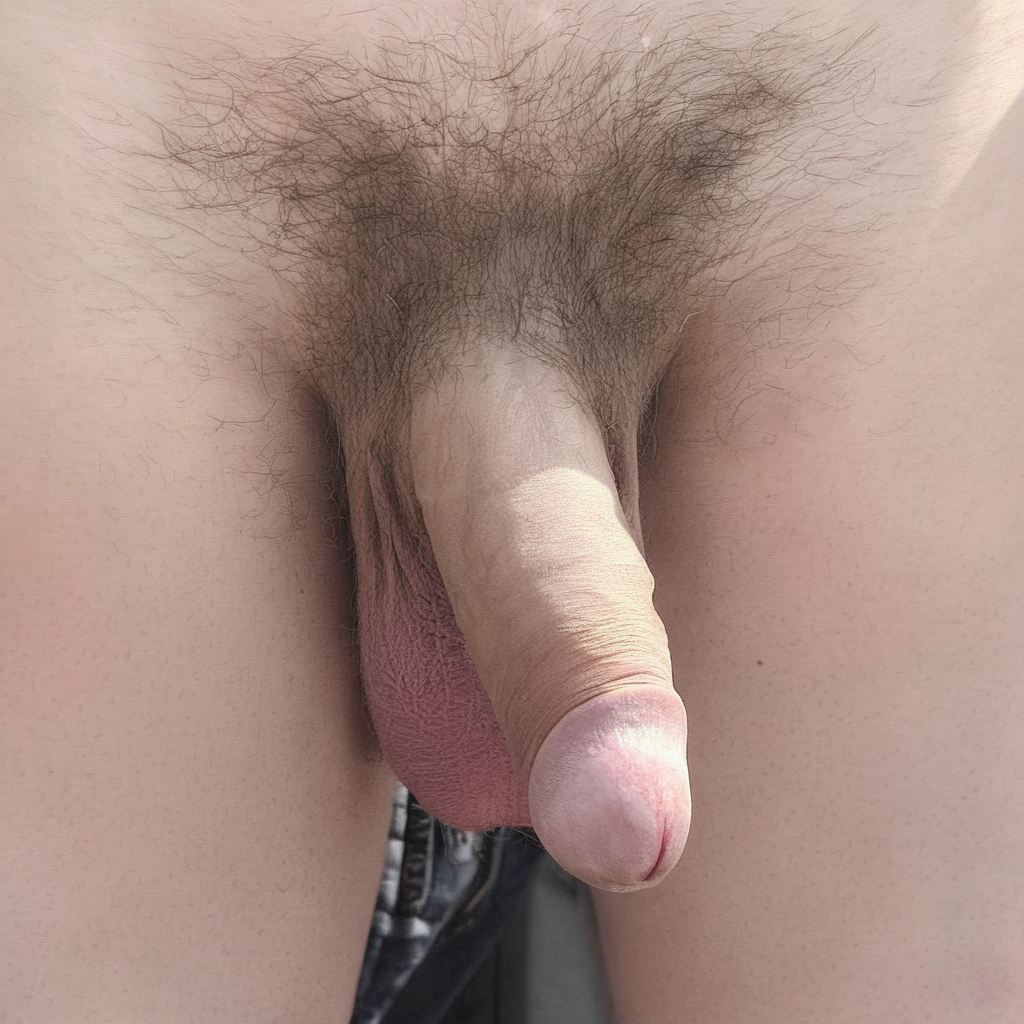
3. The Required Photographs (Flaccid)
We need two standard frontal photographs to start.
- Pose 1: Standing, flaccid (No ruler)
- Pose 2: Standing, flaccid (With ruler) - Hold a ruler or tape measure vertically against your thigh so the cm/mm marks are clearly visible. Note: This does not need to perfectly match the first pose; you can adjust your stance slightly as long as the length is clearly shown.
4. Optional Photographs (Erect)
If you are comfortable doing so, you may also upload a set of standing erect photographs (one with a ruler, one without). These are completely optional, but very helpful. Just like the flaccid set, the ruler image can be a slightly different pose if it helps make the measurements clear.
Things to Double-Check
Before you submit, make sure you avoided:
- Holding the camera more than 10° off the center midline.
- Shooting in wide-angle without zooming in.
- Placing the ruler in a way that obscures the view or makes the numbers hard to read.
- Using a flash or harsh, shadowy lighting.
What happens after you upload?
Behind the scenes, we will crop the images to our standard aspect ratio, balance the white levels, and adjust the exposure and shadows. We will never reshape, smooth, or cosmetically alter your anatomy.
In the final gallery, visitors can filter by these specific poses, ensuring that every angle is compared fairly and accurately side-by-side.
Submit your photographs